Coleccionar, Preservar y Conservar el Patrimonio Histórico en lo referente a todo tipo de Vehículos utilizados en los Ejercitos del Mundo
Moderador: administrador
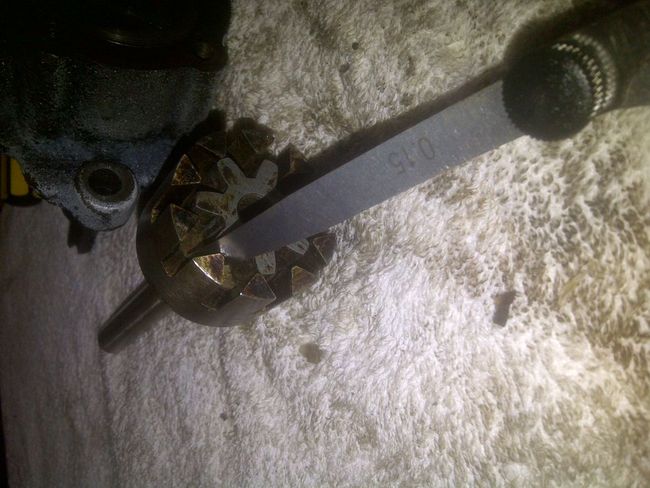
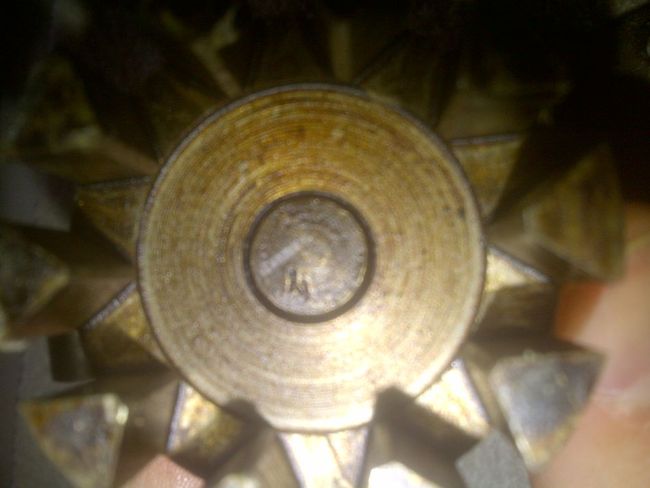
![]() por vladimirsinisi » 02 Feb 2014, 23:33
por vladimirsinisi » 02 Feb 2014, 23:33

m606paz escribió:Tengo entendido que se cambia el engranaje de la bomba...
![]() por LEO GPW » 02 Feb 2014, 23:46
por LEO GPW » 02 Feb 2014, 23:46

![]() por LEO GPW » 03 Feb 2014, 00:16
por LEO GPW » 03 Feb 2014, 00:16
![]() por LEO GPW » 03 Feb 2014, 00:25
por LEO GPW » 03 Feb 2014, 00:25
piyu escribió:Ahh! jaja que bol..tenes razon, viendo bien parece que la tapa de la bomba nada mas es de guerrero! vamos a ver que nos dice Leo! por que yo le queria conseguir una bomba de guerrero pero me parece que al civil no le andaba!!
![]() por m606paz » 03 Feb 2014, 08:38
por m606paz » 03 Feb 2014, 08:38

![]() por LEO GPW » 03 Feb 2014, 09:17
por LEO GPW » 03 Feb 2014, 09:17
![]() por m606paz » 05 Feb 2014, 22:34
por m606paz » 05 Feb 2014, 22:34
Tony Norton escribió:Very popular subject. When you snooze, you get to the party late. Anyway, as already said, when you pull the oil pump, the distributor rotor will turn a little. Staking it with 1000 mile and hour tape will most probably just crack the rotor or jam the oil pump from being pulled from the block. This can be done without setting the engine at the Top Dead Center (TDC) timing mark. The only reference you need is the position of the distributor rotor. Do this.
1. Remove the distributor cap.
2. Place a piece of masking tape around the distributor body.
3. Mark the tape where the center of the rotor contact points.
4. Remove the hardware that secures the oil pump to the block.
Note: The oil pump should be mounted by at least two studs. These studs will hold the rotational position of the pump body as it is lowered away from the engine.
5. Carefully break the oil pump gasket seal, and SLOWLY pull the oil pump away from the block. DO NOT rotate the drive gear or bang in into anything that will cause it to move.
Note: There is an offset keyway in the end of the oil pump drive shaft. Look at this keyway closely. You are looking for two things. (1.) The side the offset aligns on. It does not matter whether you use the thin or thick side. Just note one. (2.) The orientation of the slot compared to the how it aligns with the oil pump mounting holes. You might want to sketch this out before you go any further.
6. Note the position of the rotor. It will have moved as the oil pump was pulled from the block.
7. Remove all the old gasket material from the block.
8. Turn drive shaft of the new pump and listen for a gulping sound. This is a sign the pump is pre-primed. If you don’t hear the gulping sound, squirt some oil into ports of the new pump.
9. Align the keyway of the new oil pump in the same alignment as the old pump. You are looking for two things.
a. Offset on correct side and
b. Keyway slot aligned with the mounting holes like on the removed pump.
Reference the note following step 5.
Note: Dry fit the pump with no gasket.
10. Install the oil pump onto the studs. Be careful not to move the drive gear. If you aligned the keyway slot correctly the new pump should slide right on and engage the distributor drive key and the rotor will return to the mark on the masking tape on the distributor. If the oil pump does not seat, have someone rock the rotor back and forth until the oil pump seats.
11. Note the position of the rotor. If it is aligned close to your original mark, carefully remove the pump, prepare the gasket, and reinstall the pump.
12. Go back to the distributor and check the alignment of the rotor to the mark on the masking tape. If the rotor is not aligned with the mark continue with the next step, otherwise
a. Remove the tape,
b. Replace the distributor cap and
c. You’re done.
13. Loosen the distributor clamp and turn the body of the distributor so the mark on the masking tape aligns with the rotor.
a. Tighten the distributor clamp.
b. Replace the distributor cap
c. And you’re done.
This can be done by yourself, but a helper to aid in putting the oil pump back especially if the engine in installed and surrounded by sheet metal may be prudent.
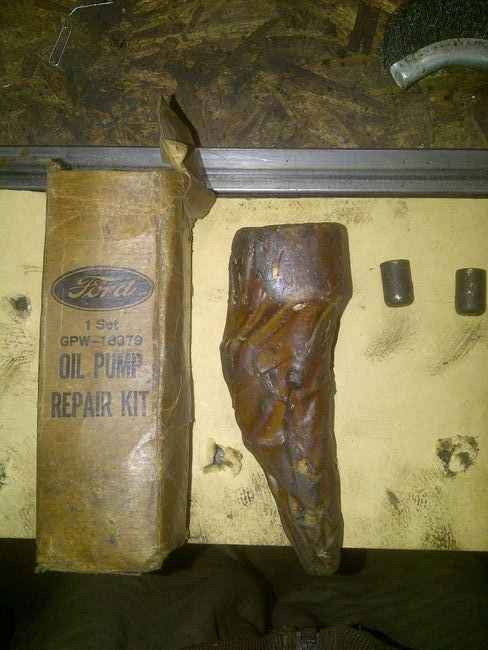
![]() por vladimirsinisi » 13 Abr 2014, 21:28
por vladimirsinisi » 13 Abr 2014, 21:28
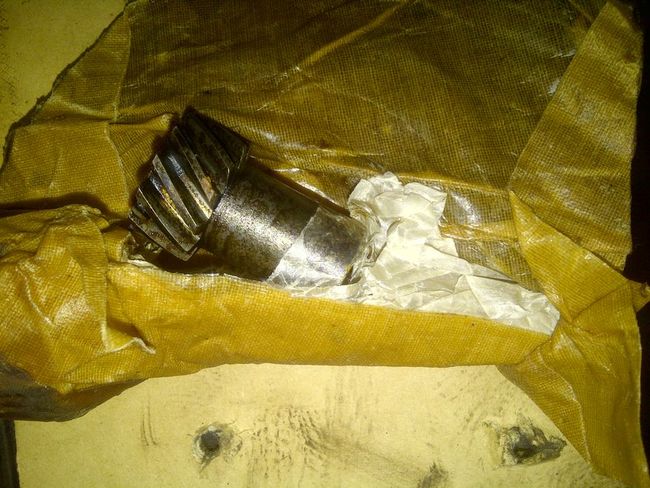
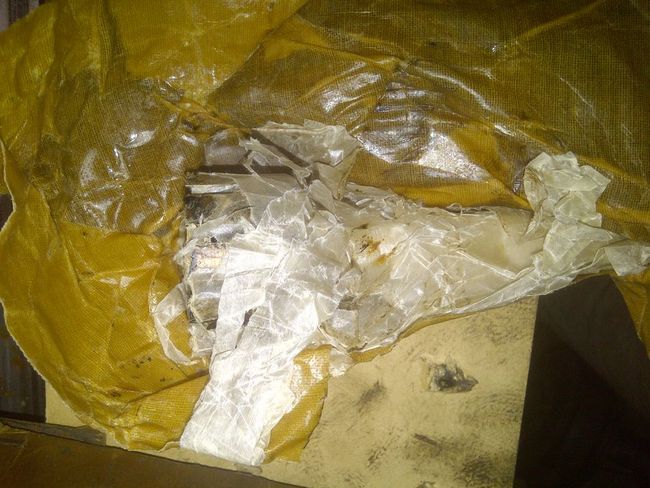
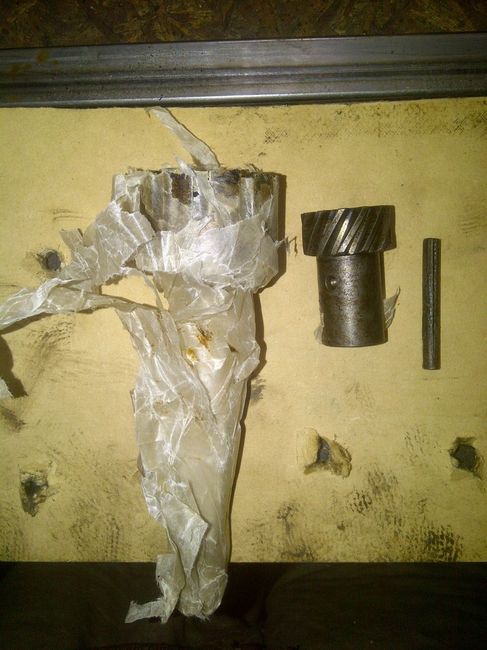
vladimirsinisi escribió:para distender un poco el tema y seguir con algo importante en el armado de un motor les paso a mostrar algunas fotitos
esto es lo que quería ver si traía este kit
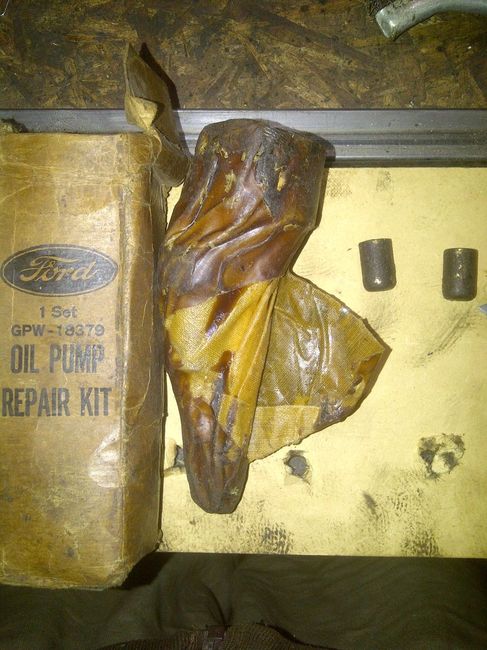
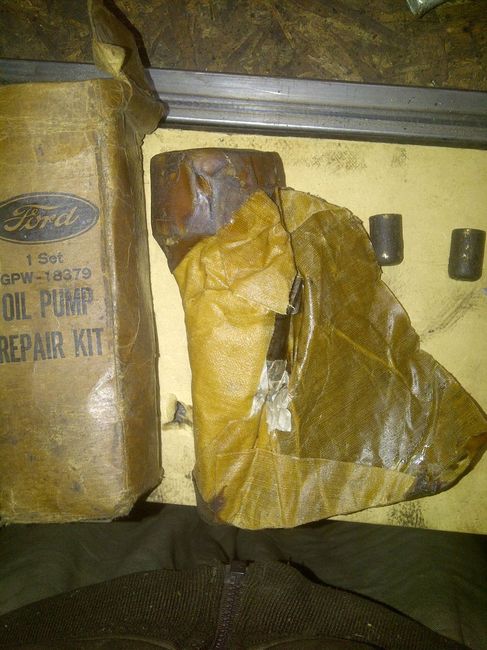
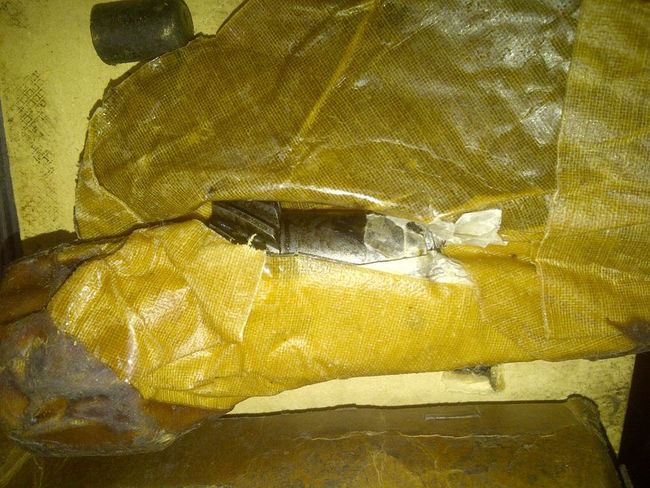
![]() por vladimirsinisi » 13 Abr 2014, 22:01
por vladimirsinisi » 13 Abr 2014, 22:01
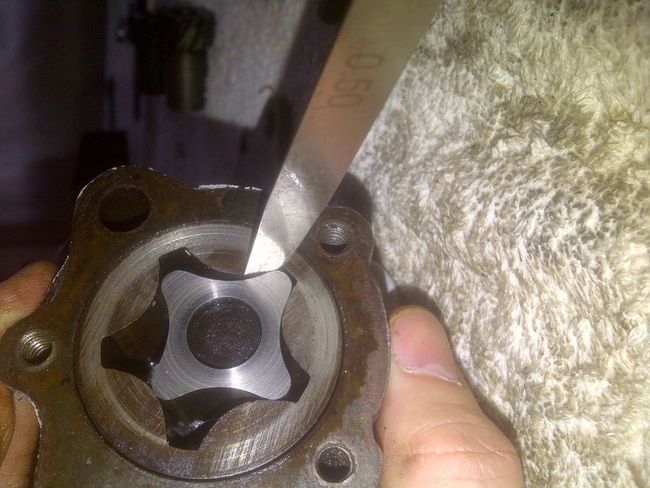
m606paz escribió:Decime que se pianto un lagrimon cuando la desembalaste!
![]() por vladimirsinisi » 23 Nov 2014, 23:52
por vladimirsinisi » 23 Nov 2014, 23:52

![]() por m606paz » 24 Nov 2014, 20:52
por m606paz » 24 Nov 2014, 20:52
Volver a Bantam BRC , Willys MA, Ford GP, Willys MB, Ford GPW, Informacion Tecnica
Usuarios navegando por este Foro: No hay usuarios registrados visitando el Foro y 12 invitados